完整的项目构建过程:清理、编译、测试、打包、集成测试、验证、部署
pom.xml参数介绍
<project xmlns="http://maven.apache.org/POM/4.0.0" xmlns:xsi="http://www.w3.org/2001/XMLSchema-instance"
  xsi:schemaLocation="http://maven.apache.org/POM/4.0.0 http://maven.apache.org/xsd/maven-4.0.0.xsd">
  <!-- 指定当前pom的版本 -->
  <modelVersion>4.0.0</modelVersion>

  <!-- 主项目标识。一般由反写的公司网址+项目名 -->
  <groupId>com.cheng</groupId>
  <artifactId>test2</artifactId>
  <!-- 当前项目版本号(大版本号.分支版本号.小版本号) -->
  <!-- snapshot:快照;alpha:内部测试;beta:公测;Release:稳定;GA:正式发布 -->
  <version>0.0.1-SNAPSHOT</version>
  <!-- maven项目打包方式 ,默认为jar-->
  <packaging>jar</packaging>

  <!-- 项目名 -->
  <name>test2</name>
  <!-- 项目地址 -->
  <url>http://maven.apache.org</url>

  <!-- 项目描述信息 -->
  <description></description>
  <!-- 开发人员 -->
  <developers></developers>
  <!-- 开源项目许可证 -->
  <licenses></licenses>
  <!-- 组织信息 -->
  <organization></organization>


  <properties>
    <project.build.sourceEncoding>UTF-8</project.build.sourceEncoding>
  </properties>

  <!-- 依赖列表 -->
  <dependencies>
    <!-- 依赖项 -->
    <dependency>
      <groupId>junit</groupId>
      <artifactId>junit</artifactId>
      <version>3.8.1</version>
      <!-- 依赖范围 test:只在测试范围内有用 -->
      <scope>test</scope>
      <!-- 设置依赖是否可选 true|false 默认false-->
      <!-- false:子项目默认继承;true:子项目必须显示引入该依赖 -->
      <optional></optional>
      <!-- 排除依赖传递列表 -->
      <exclusions>
        <exclusion></exclusion>
      </exclusions>
    </dependency>
  </dependencies>

  <!-- 依赖管理 -->
  <dependencyManagement>
    <dependencies>
      <dependency>

      </dependency>
    </dependencies>
  </dependencyManagement>

  <!-- 为构件提供相应支持 -->
  <build>
    <!-- 插件列表 -->
    <plugins>
      <plugin>
        <groupId></groupId>
        <artifactId></artifactId>
        <version></version>
      </plugin>
    </plugins>
  </build>

  <!-- 子模块对父模块的继承 -->
  <parent></parent>

  <!-- 聚合多个maven模块 -->
  <modules>
    <module></module>
  </modules>

</project>
利用Eclipse构建Maven项目
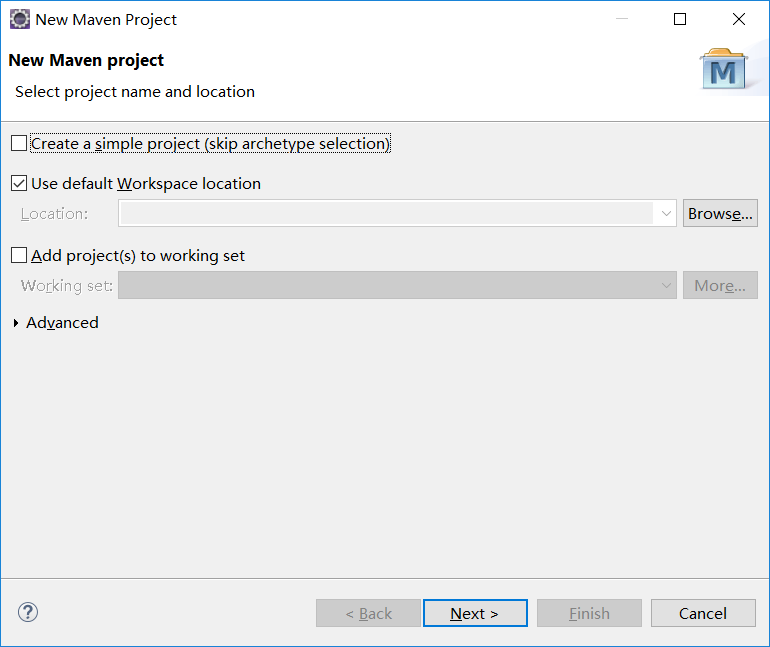
1.File>New>Maven Project,使用默认的工作路径,直接点击Next
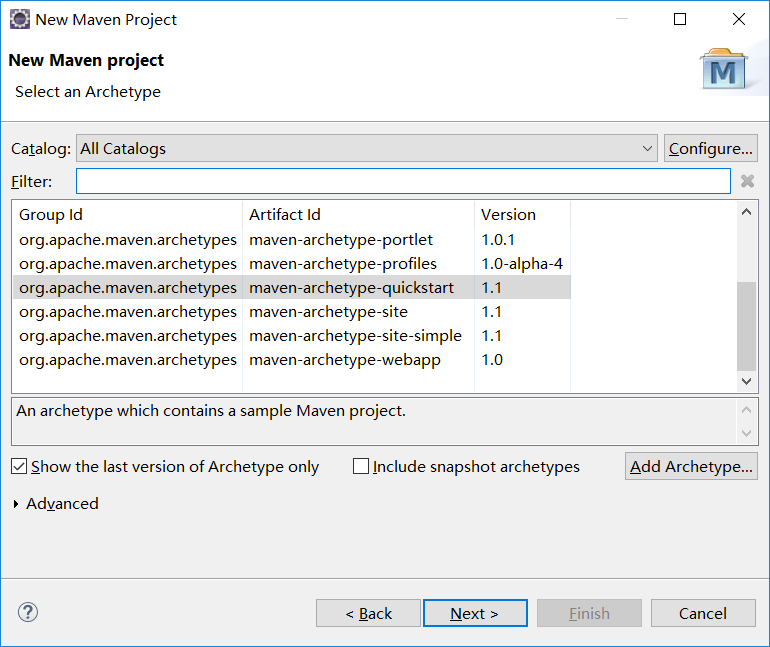
2.选中“maven-archetype-quickstart”点击Next
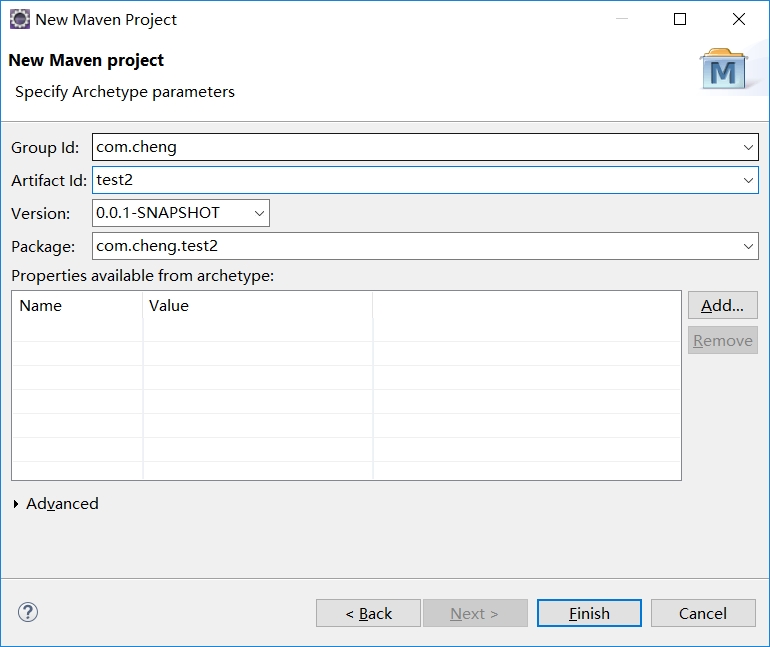
3.输入GroupId、ArtifactId
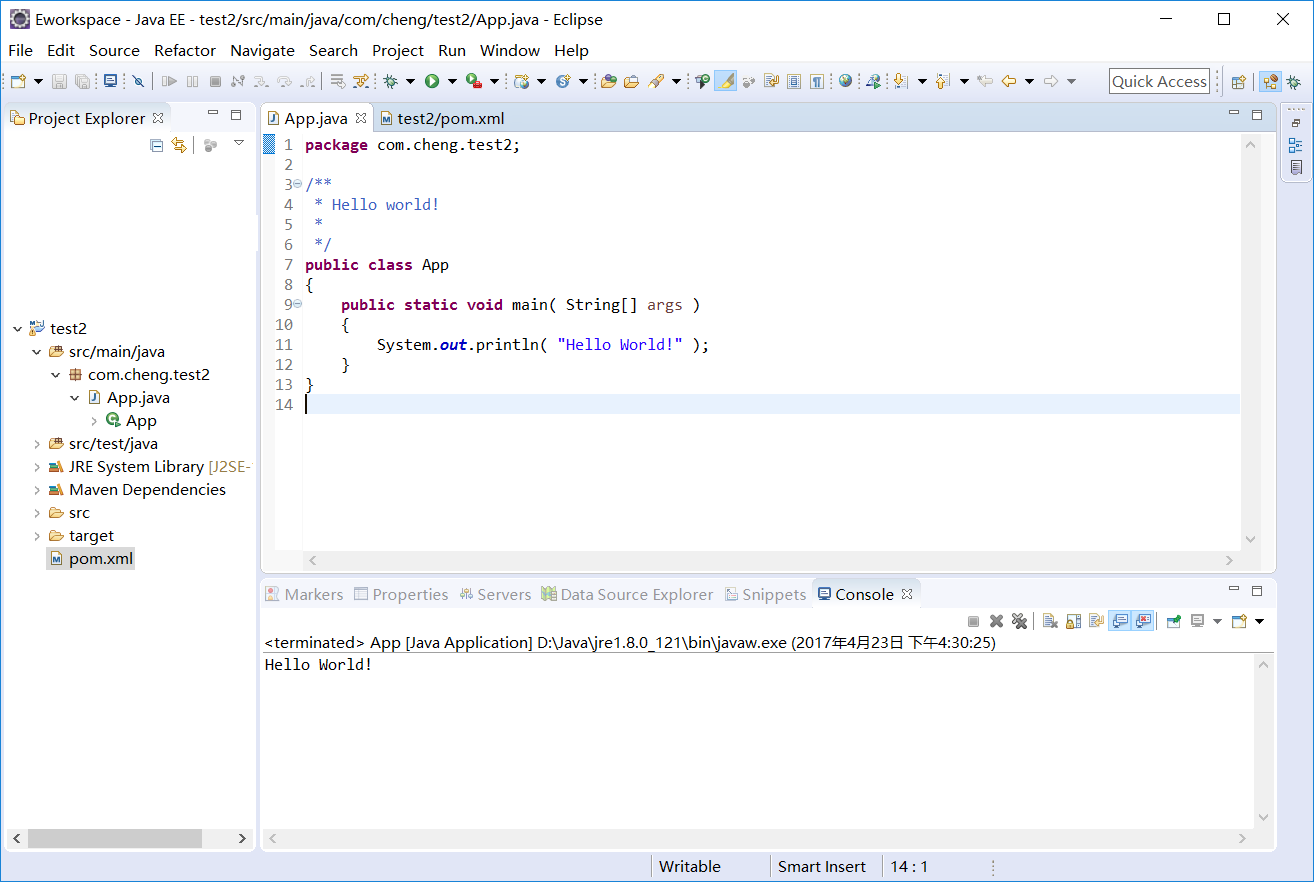
4.如图构建完成
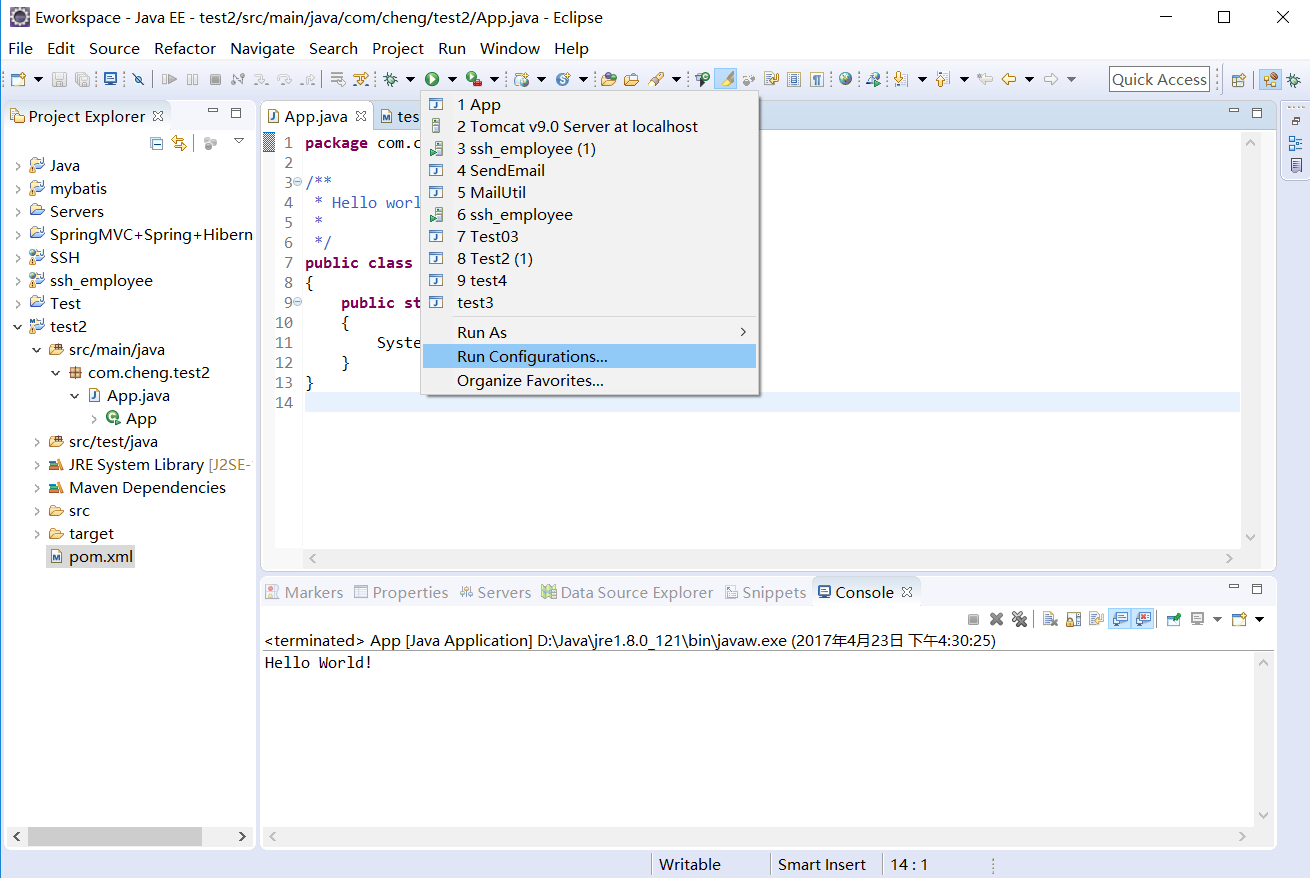
5.打包操作。点击运行按钮,选择“Run Configurations..”,
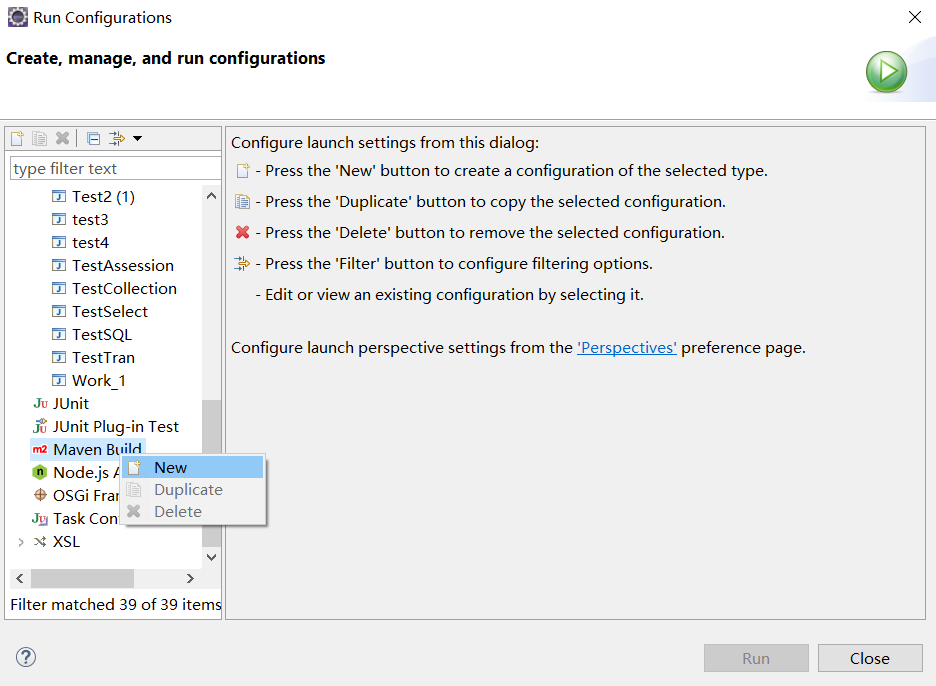
6.在左侧右击“Maven Build”,选择“New”
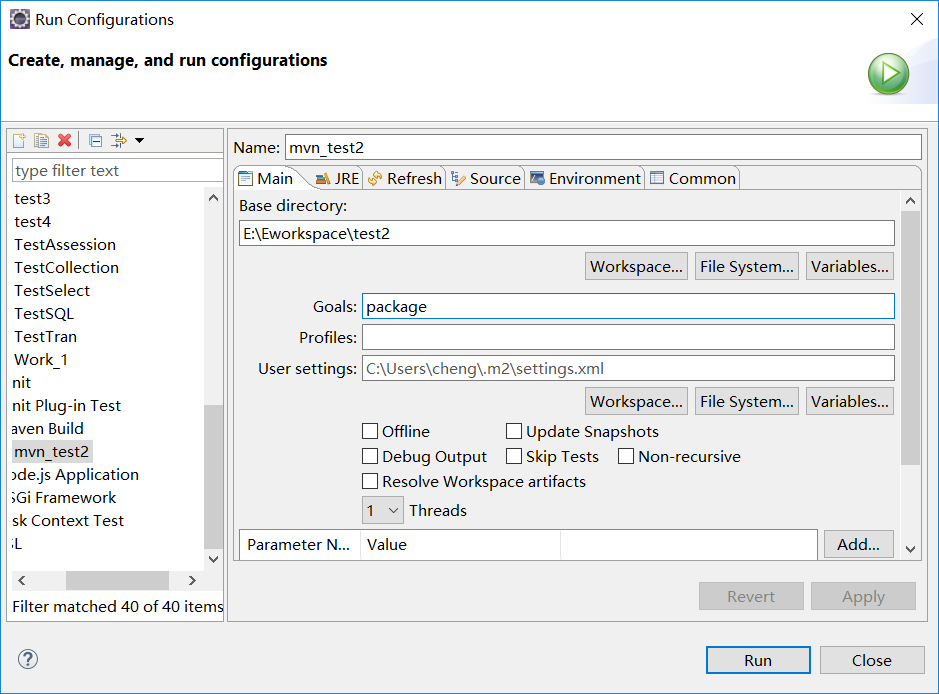
7.输入Name、Base directory、Goals,点击“Apply”,点击“Run”,控制台输出“Build Success”打包完成
利用IDEA构建Maven项目
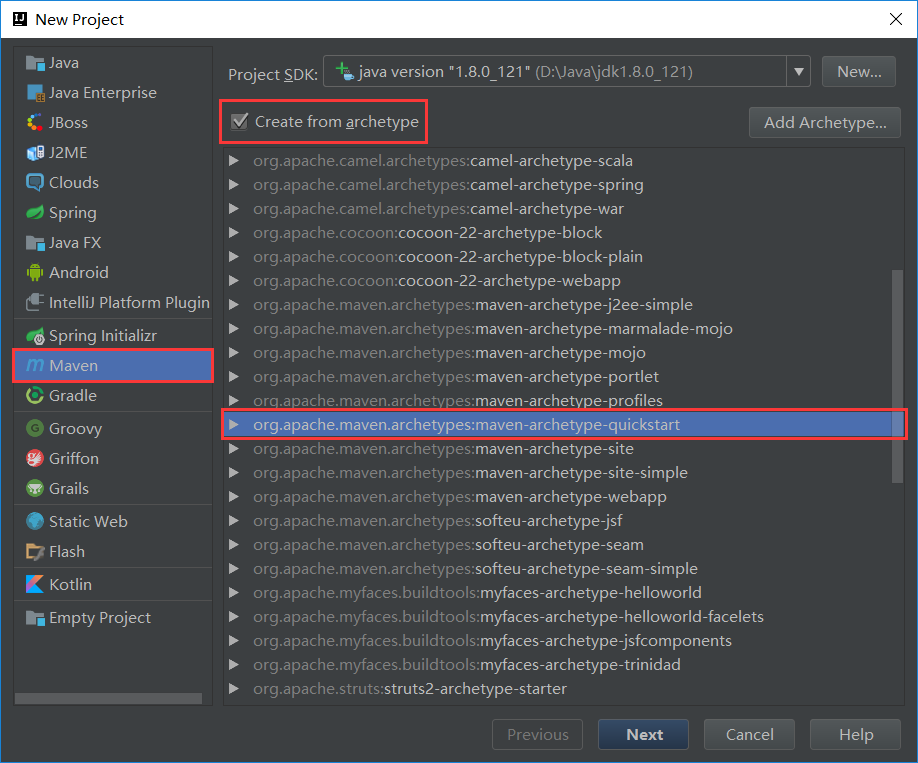
1.File>New>Project…>Maven
勾选“Create from archetype”,选择“maven-archetype-quickstart”,点击Next
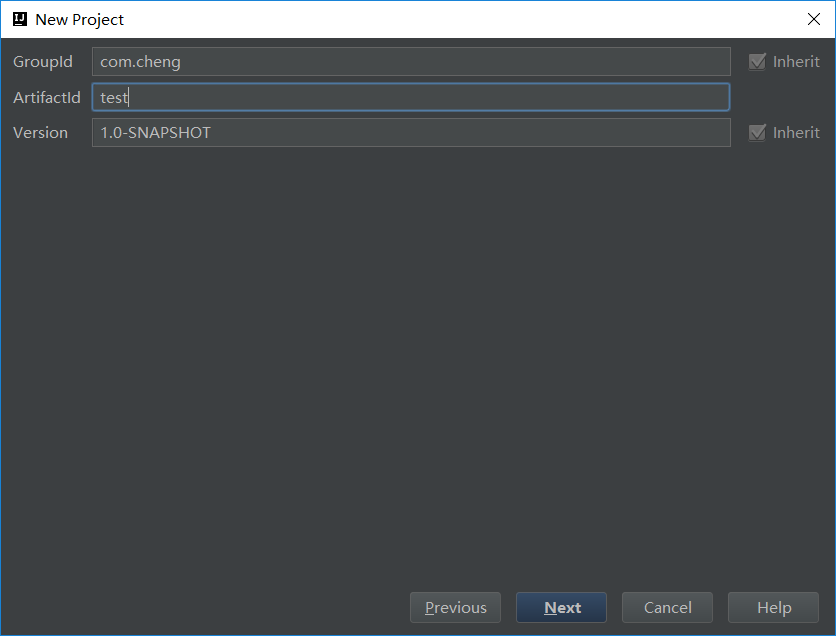
2.输入GroupId、ArtifactId
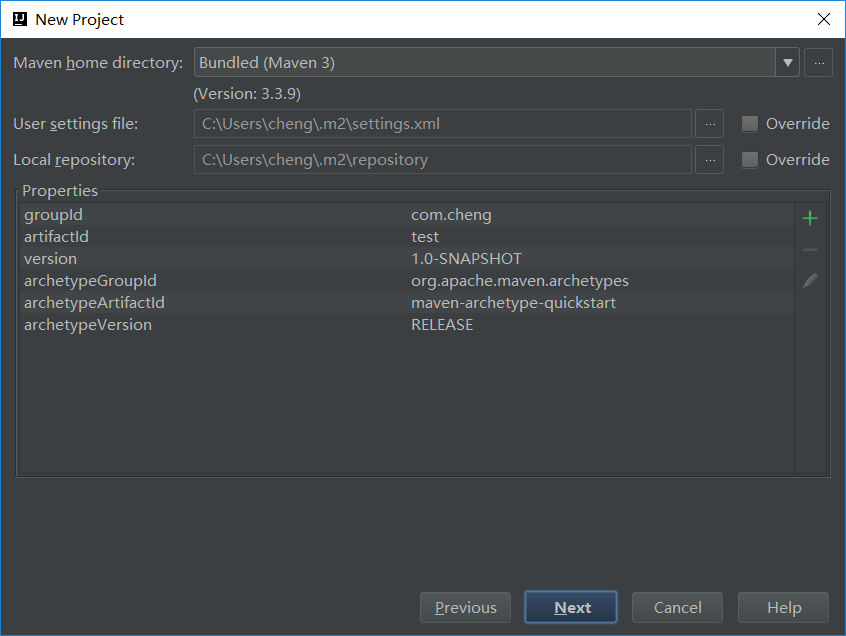
3.指定Maven安装目录,用户设置,本地版本库。默认就好。
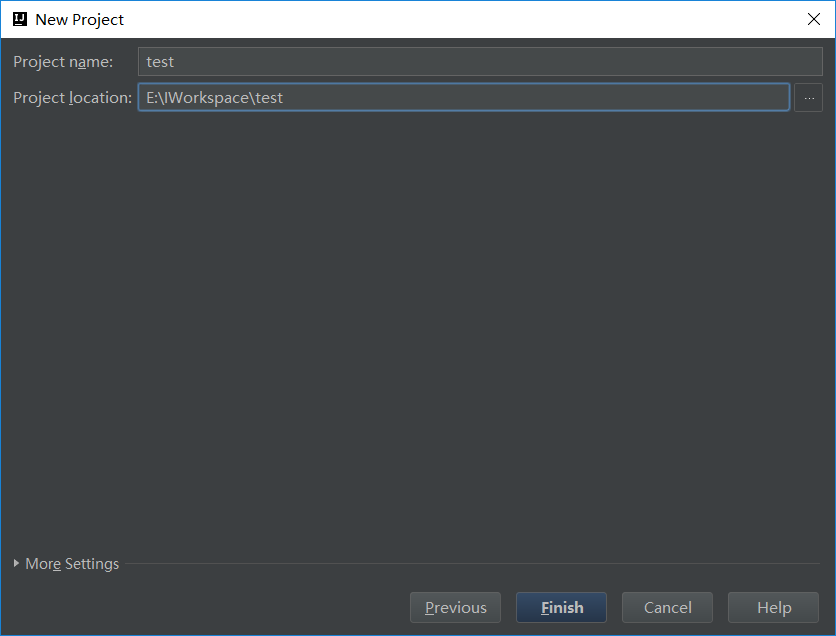
4.指定项目名称和项目路径
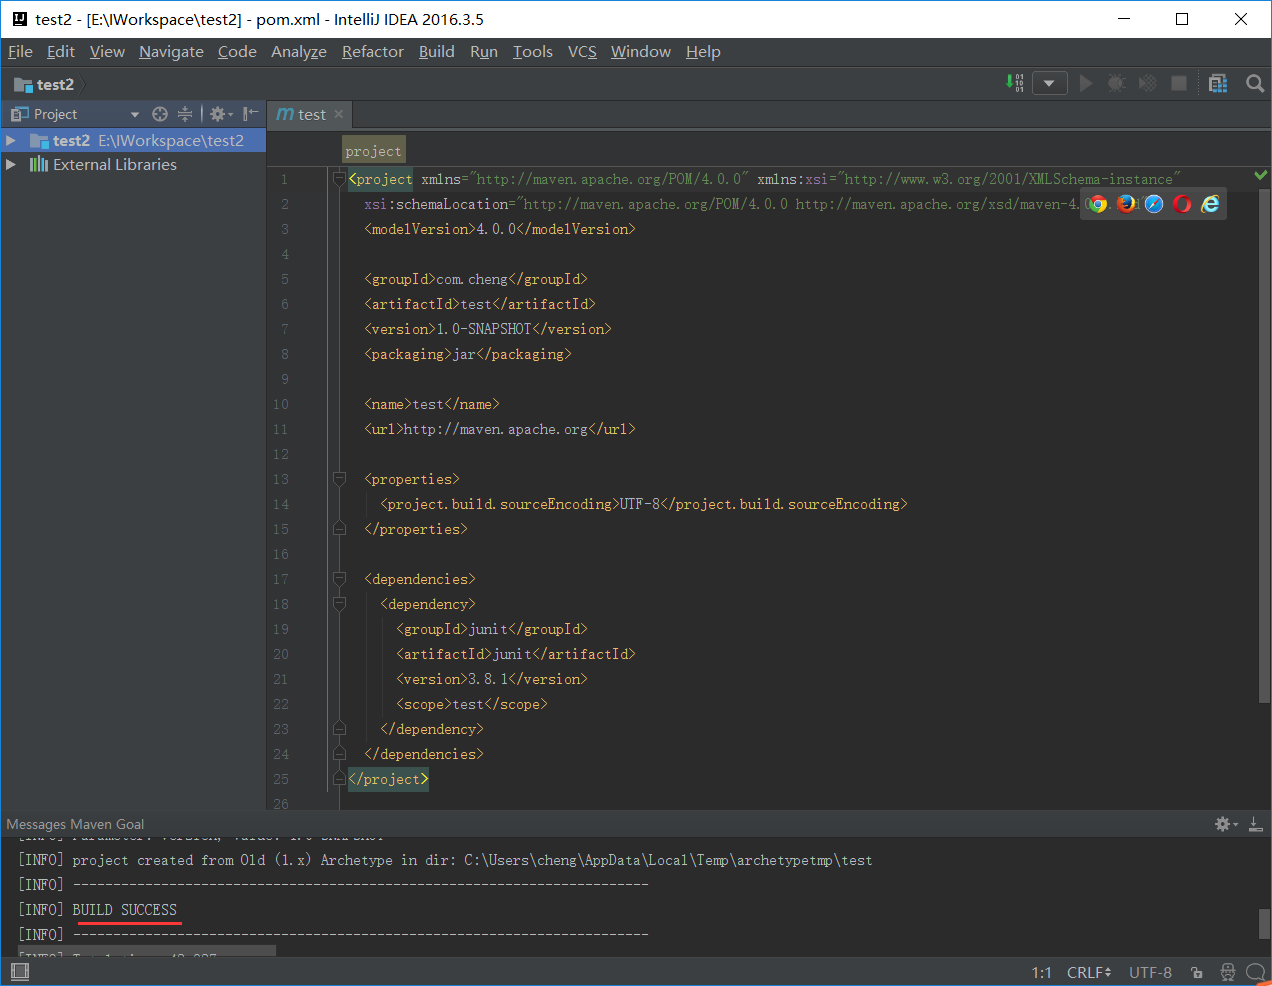
5.等待项目构建,看到控制台输出“Build Success”时就说明构建完成
6.打包操作

如果觉得我的文章对您有用,请随意打赏。您的支持将鼓励我继续创作!